When Should a Houston Home Be Completely Repiped? Signs & Guide
Learn when a Houston home needs a complete repiping. Discover failure signs, pipe materials, slab leak risks, and cost factors.
Determining When a Houston Home Needs Whole-House Repiping
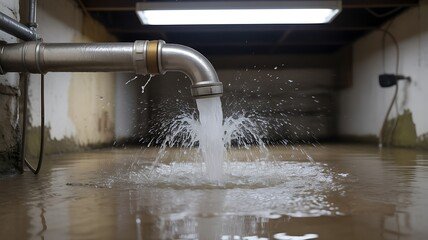
Deciding to replace every supply pipe in a residential property is a major undertaking. For most homeowners, the thought of opening walls, disrupting daily routines, and managing a large project brings considerable hesitation. However, waiting too long to address failing supply lines can lead to catastrophic water damage, continuous structural risks, and skyrocketing water bills. Understanding the distinct warning signs, pipe materials, and environmental factors unique to the Houston area helps property owners determine whether spot repairs will suffice or if a complete repipe is the only permanent solution.
A whole-house repipe involves removing old, compromised supply lines—typically hot and cold water distribution pipes—and installing an entirely new network using modern materials like cross-linked polyethylene (PEX) or copper. It does not replace the main sewer line or drain pipes unless those drainage systems are part of a separate structural failure, but it completely transforms the pressurized water supply system.
Primary Indicators That Point Toward Full Repiping
Individual plumbing leaks can often be resolved with localized pipe repairs. When multiple symptoms occur simultaneously or repeat continuously across different rooms, the underlying piping infrastructure has likely reached the end of its useful service life. Property owners should evaluate several key indicators:
- Recurring Leaks in Multiple Locations: Finding a pinhole leak under the kitchen sink, repairing it, and then facing another leak in a bathroom wall a few weeks later indicates systemic pipe degradation rather than isolated damage.
- Discolored or Rusty Water: Water that runs brown, yellow, or reddish when first turning on a faucet often signals internal corrosion within galvanized iron pipes. While temporary rust can sometimes stem from water heater corrosion, persistent discoloration across multiple fixtures points to failing supply lines.
- Unexplained Low Water Pressure: If pressure drops significantly when multiple fixtures run at once, mineral scale buildup or internal pipe wall constriction may be choking the water flow throughout the house.
- Unusual Odors or Metallic Taste: Advanced pipe corrosion can leach metals into the water supply, creating a noticeable metallic taste or odor, particularly in older properties.
- Visible Pipe Aging and Deformation: Exposed pipes in utility rooms, garages, or crawl spaces that show bubbling, severe scaling, or warping warrant immediate professional evaluation.
Houston-Specific Environmental and Structural Factors
Geographic and climate conditions play a notable role in plumbing longevity. Properties in the Houston area face unique environmental stressors that can accelerate pipe deterioration or reveal vulnerabilities in older building methods:
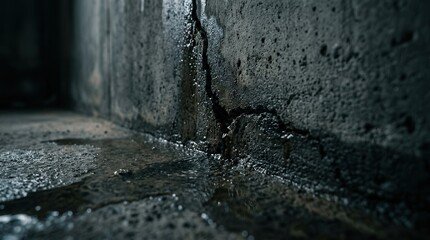
- Slab Foundations and Under-Slab Copper: Many Houston-area homes are built directly on concrete slab foundations. Older homes often feature copper supply lines routed underneath these slabs. Over decades, shifting soils, moisture, and chemical interactions with aggregate concrete can cause friction or external corrosion, leading to destructive slab leaks.
- Extreme Heat and Mineral Content: High temperatures place continuous stress on plumbing systems, while local water characteristics can contribute to mineral scaling inside hot water distribution lines.
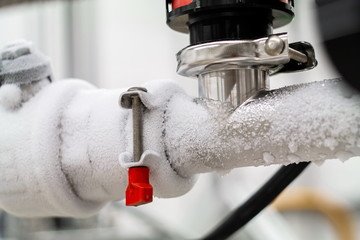
- Severe Weather and Freeze Events: Unusually hard winter freezes, such as those experienced during regional Arctic blasts, can stress older, brittle pipes or uninsulated lines located in exterior walls or unconditioned spaces. While insulation prevents immediate freezing, pipes weakened by age or internal corrosion are far more likely to split or develop hairline fractures during rapid temperature drops.
Common Pipe Materials Found in Houston Properties
The type of plumbing material currently installed in a home heavily influences its expected lifespan and likelihood of requiring a full replacement:
| Pipe Material | Common Era | Typical Lifespan | Primary Failure Risk |
|---|---|---|---|
| Galvanized Steel | Pre-1970s | 20 to 50 years | Internal rust accumulation, severe flow restriction, pinhole leaks |
| Polybutylene | 1970s to 1995 | 15 to 25 years | Chemical embrittlement, fitting degradation, sudden catastrophic joint bursts |
| Early-Era Copper | Various | 40 to 70+ years | External soil/slab corrosion, pinhole leaks from aggressive water chemistry |
| PEX (Cross-linked Polyethylene) | Modern | 40 to 50+ years | UV degradation if exposed to sunlight, improper installation stress |
Polybutylene piping, characterized by its dull gray flexible plastic appearance, deserves special attention. Homes built or replumbed in Houston during the late 1970s through the mid-1990s frequently contain these pipes and their plastic fittings. Polybutylene degrades over time when exposed to common municipal water oxidants like chlorine, becoming brittle and prone to sudden, unannounced joint separation. Many insurers and homebuyers view polybutylene systems as prime candidates for proactive whole-house repiping.
Safe Homeowner Checks and Diagnostic Observations
Before contacting a professional for an estimate, homeowners can perform several safe, non-invasive observations to gather helpful diagnostic clues:
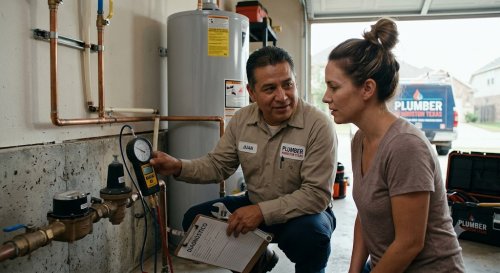
- The Water Meter Test: Ensure all indoor and outdoor faucets, ice makers, and water-using appliances are completely turned off. Locate the property's water meter and check the leak indicator dial (often a small red or blue triangle). If the dial is spinning or moving slowly, water is continuously escaping somewhere in the pressurized supply system.
- Fixture Isolation: Turn on individual faucets one at a time and remove the aerators (the small screen at the tip of the faucet spout). Check if debris or fine rust flakes are caught in the screen. This helps distinguish between a localized fixture aerator clog and a whole-house pipe scaling problem.
- Visual Inspection of Accessible Lines: Inspect exposed pipes in the garage, attic, utility room, or under sinks. Look for chalky white mineral deposits, green or blue staining on copper joints (which indicates slow weeping leaks), or bulging sections on plastic lines.
Homeowners should avoid attempting pressurized system testing, cutting into drywall to inspect hidden pipes, or applying temporary sealants to high-pressure supply lines, as these makeshift fixes rarely hold and can cause sudden flooding.
How Professionals Evaluate a Repipe Candidate
A licensed plumbing professional does not recommend a whole-house repipe based on a single symptom alone. Comprehensive diagnostic evaluations typically involve:
- Static Pressure Testing: Attaching a pressure gauge to a hose bib or laundry connection to measure static water pressure and monitor pressure drop over time.
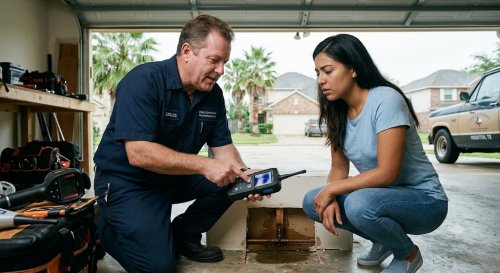
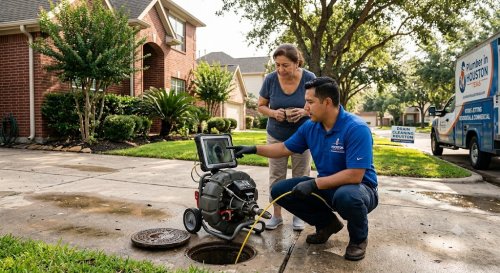
- Systemic Leak Detection: Using electronic acoustic equipment, thermal imaging cameras, or pressure isolation tests to map out whether leaks are isolated to a single branch line or scattered across the entire distribution network.
- Visual Access Verification: Examining attic spaces, wall cavities through access panels, and water heater connection areas to determine how the current piping was routed and what construction obstacles exist.
Partial Repair Versus Full Repiping
When a pipe fails, homeowners naturally ask whether a localized repair is sufficient. The choice between a spot repair and a complete repipe depends on system integrity:
Spot Repair Makes Sense When: The home has modern PEX or sound copper plumbing, the leak was caused by an isolated physical trauma (such as a nail driven into a wall during remodeling), and the surrounding pipe wall is thick, clean, and structurally sound.
Full Repiping Makes Sense When: The home contains aging polybutylene lines, extensive galvanized steel with severe internal scaling, or multiple underground or in-slab leaks where repairing one section simply transfers high pressure to an equally weak adjacent section.
What Drives the Cost of a Whole-House Repipe?
Because complete repiping is a labor-intensive project, costs vary considerably from one property to another. Rather than relying on generalized price averages, homeowners should understand the exact factors that influence project pricing:
- Home Size and Layout: The total linear footage of pipe, the number of wet walls, and the number of bathrooms and fixtures directly dictate material and labor requirements. Multi-story homes require vertical pipe routing through multiple levels, which increases complexity.
- Accessibility: Homes with accessible crawl spaces allow plumbers to route new lines underneath floors with minimal disruption to living areas. Conversely, homes on slab foundations require routing pipes through attic spaces or dropping lines down interior walls, which demands meticulous drywall cutting and patching.
- Material Choice: Selecting PEX tubing generally involves lower labor costs due to its flexibility and fewer fittings, whereas rigid copper piping requires extensive soldering, fire safety precautions, and higher material expenses.
- Wall and Ceiling Restoration: Repiping requires strategic access cuts in drywall or plaster to remove old lines and secure new ones. Some plumbing estimates include full drywall repair, texture matching, and painting, while others leave surface restoration to a separate contractor. Clarifying this scope before approving work is vital.
- Permits and Code Compliance: Professional repiping requires municipal permits and subsequent plumbing inspections to ensure the installation meets current building and safety codes.
Questions to Ask Before Approving a Repipe Project
Investing in a whole-house repipe requires clear communication with the plumbing contractor. Property owners should ask targeted questions before signing an agreement:
- Will the water supply be shut off during the entire project, or will temporary lines be rigged so the home retains water overnight?
- Does the estimated price include drywall cutting, patching, texturing, and painting, or will I need to hire a separate drywall contractor?
- What specific pipe material and fittings will be used, and what manufacturer warranty accompanies them?
- How will the new pipes be routed—through the attic, exterior walls, or drop-down chases?
- Will the water heater connections, pressure-reducing valves, and main shutoff valve be upgraded or replaced as part of the project?
Frequently Asked Questions
- Can I stay in my home while it is being repiped?
Yes, most homeowners remain in their residences during a repipe. Professional crews typically work room by room or section by section. Plumbers usually ensure that water is restored to essential fixtures like a toilet and a sink by the end of each workday, though temporary water shutoffs lasting several hours during active installation phases should be expected. - How long does a complete residential repipe take?
The physical installation timeframe depends heavily on home size, layout complexity, and accessibility. For an average single-family home, a standard repipe project generally takes between two to four days from initial preparation to final wall access closure and system pressure testing. - Will PEX piping affect my home insurance coverage?
Modern PEX piping is widely accepted by insurance carriers and building codes. However, homes with older polybutylene piping often face insurance hurdles or coverage exclusions due to high failure rates. Replacing polybutylene with PEX or copper often improves insurability and provides peace of mind. - Should I replace my water heater at the same time as a repipe?
Evaluating the water heater's age and condition during a repipe is highly recommended. If the water heater is nearing the end of its expected service life (typically 8 to 12 years for tank units), replacing it simultaneously prevents new high-pressure lines from connecting to an aging, corroded tank that could fail shortly thereafter. - Does a repipe solve low water pressure caused by municipal supply?
A repipe solves low pressure caused by internal pipe scaling, corrosion, or undersized home distribution lines. However, if the low pressure originates from the municipal water main, city supply limitations, or a failing main pressure-reducing valve (PRV) at the property entry, an internal repipe alone will not resolve the issue.